Guillotine Choke – BJJ Submission

The guillotine choke is one of the main basic submissions that you first learn when you begin your BJJ training. It seems like a power move, but the smallest grappler can make the biggest grappler quick tap with it.
This submission is simple, easy, and is one of the strongest chokes in grappling. Here is our breakdown of the guillotine choke.
We’ll go through how the Guillotine choke was developed and the mechanics of how it works. Then we’ll detail various setups and give you important tips and details for locking in your guillotine.

When was the guillotine choke developed?
Front head chokes like the guillotine have been around long before Jiu Jitsu was created. Jiu Jitsu adopted the move from Judo, where it is known as the “mae hadaka-jime.
With more wrestling being integrated into Jiu Jitsu, the guillotine has really been innovated in the last few decades. There have been numerous pro grapplers that have made instructionals detailing their system for the guillotine choke.
The mechanics of the guillotine choke
This choke gets its name, because it looks similar to how your head would look in a guillotine. Although the choke actually feels more like a noose quickly tightening around your neck.
It’s a classic blood choke, where your arms and body close off space around your neck. The pressure comes on in just fractions of a second and you’ll only have moments to escape or submit.
Standing guillotine Choke

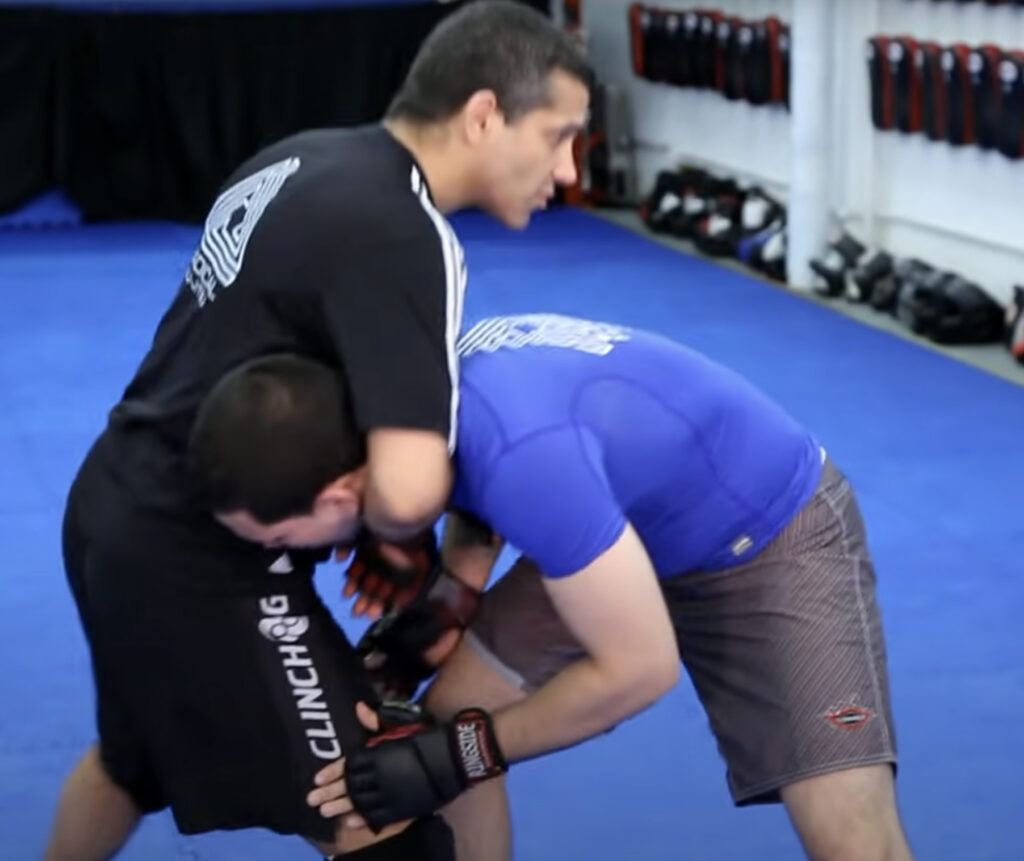
There’s numerous ways to land a guillotine from multiple positions, but we’ll detail our first technique from standing. Let’s see your opponent shoots in for a takedown and leaves their neck open.
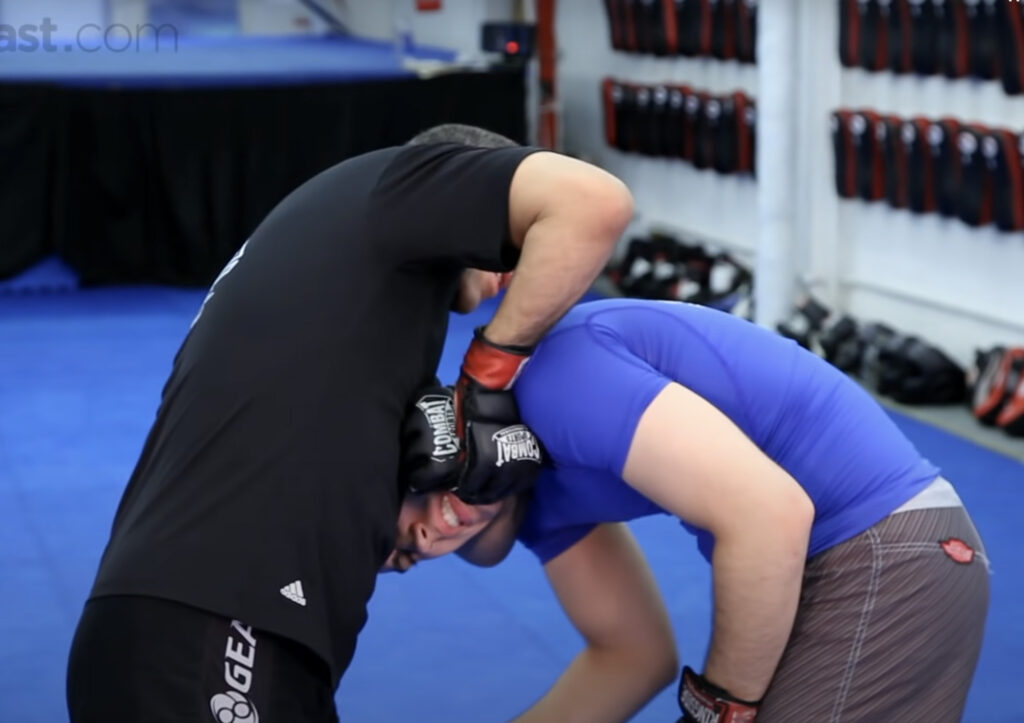
Hook your arm around your opponent’s body and cup your fist with your top hand. Keep your grip tight to keep your opponent’s head against your body.
To finish the Guillotine choke, keep square with your opponent, pull your choke arm up, and do a side crunch.
Guillotine choke from guard
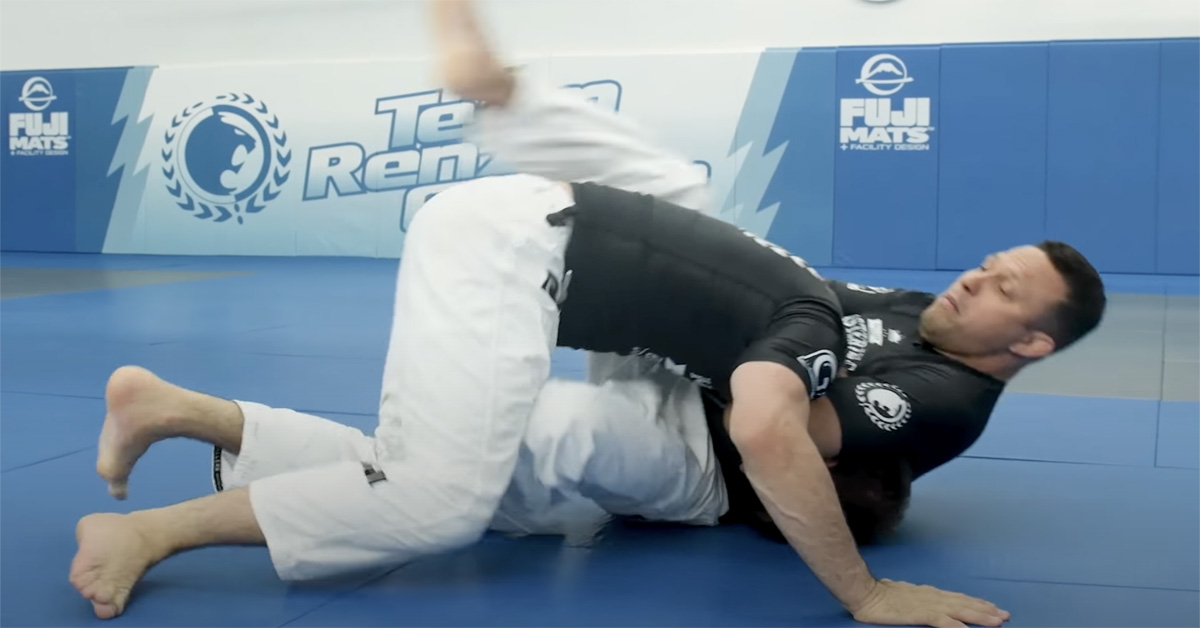
You set up a tight guillotine choke from guard off of faking a hip bump sweep. Start by putting your hand on the mat and lift your hips to drive them into your opponent’s chest.
Instinctively they will defend the sweep by putting their hand on the mat. When they do this it exposes their neck.
As you come back down, hook around your opponent’s head and grab your wrist or fist.
Also one very important thing to remember after locking in your grip is do not fall straight back. Instead sit and angle your hips slightly to the side to get optimal pressure on your choke.
Then before your lock on the pressure to hook your leg over your opponent’s body so they can’t jump to side-control.
Arm in guillotine
The second most common type of guillotine choke is the arm in guillotine. A common mistake grapplers make with the am in guillotine is falling straight back after getting their grip in.
When you fall straight back and arch your back to put on the pressure, your opponent’s head pops out.
This is why as soon as you lock their head against your body, you need to slide into guard. Turning in your inside hip and hooking your leg over your opponent’s back.
It’s a very tight choke and easy to set up.
5 finger guillotine
There’s numerous different guillotine grips you can use and one popular variation is the 5 finger grip. Two common ways to land this variation is off a snap down or sprawling on your opponent.
As soon as your opponent exposes their neck, you’re going to take a chin strap control on their head. Then take an underhook with your other to turn your opponent to their back.
Now with them in position to finish the choke, switch to a kesa-gatame side-control and turn their head inward. Finishing the choke with one hand as you’re blocking their far arm with an underhook.
10 finger guillotine
Along with the 5 finger guillotine, you also have the 10 finger guillotine. This set up comes from when you’re in top position with your opponent’s head attached to your chest.
Your opponent won’t let you put their head to the side, so you have to choke from the middle. Cup their chin with one hand and put your other hand behind this one for support and close your elbows.
Lean forward putting your belly button on the back of your opponent’s head and pull up to finish the guillotine choke.
The high elbow guillotine
The normal defense against guillotine is to grab your opponent’s wrist to pull apart their grip. While also bringing your arm over their shoulder to relieve the pressure.
A high elbow guillotine was developed to counter this defense. Start your setup like a normal guillotine and lock in your guillotine grip by grabbing the wrist of your choke hand.
To prevent your opponent from hooking over your arm, you’re going to raise your elbow upward. Putting it over your opponent’s shoulder as you lock on a really tight guillotine.
Guillotine from side-control
Guillotines from on top in side-control are really easy to hit when your opponent turns in and elbow escapes. For a brief moment, their neck is exposed, so you have to quickly jump on their neck.
As they start to turn into you to recover their guard, you need to immediately hook around their neck. Trapping their neck between your arm and body.
Next lock in your normal guillotine grip and step over your opponent’s body as you pull them into you.
Guillotine Choke from mount
There are many guillotine options you can go to when you have the mount on your opponent. Start your set up by moving to a high mount on your opponent.
Next slide your hand under your opponent’s arm and trap it against your leg. When you do this, they normally react by lifting their head and turning into you.
So as your opponent lifts their head, bring your arm around their head and hook under their neck. From here, you have different finishing options.
You could put the side of your head on the mat and arch your back. Another option is to keep your head flat on the mat and go to a high elbow guillotine choke.
One arm guillotine from the mount
If you watched Bisping vs Rockhold 1, you saw Rockhold win with a tight one arm guillotine from the mount. He started the set up from a one armed guillotine and fell to his back.
When he fell to his back, the momentum caused the two to roll with Rockhold ending up in the mount. He couldn’t connect his hands to finish, so he had to go to another option.
Luke kept his choke hand under Bisping’s neck and based out with his other hand. Doing this gave him the leverage to raise up and finish the choke with one arm.
Guillotine choke from the back
When you’re on your opponent’s back, you can force them to turn and give up their neck for the guillotine. Start by bringing your arm over your opponent’s hand and hold their arm with two arms.
Next take your leg hook on this side slightly out and place your foot on your opponent’s hip and turn. When you turn, you’re going to cup under your own thigh with your choke hand.
Your opponent will feel the space and turn into you to escape. As they turn this exposes their neck and you lock up your guillotine.
Details and tips for doing a guillotine choke
The guillotine choke is rather simple to lock on, but many grapplers make critical errors locking it in. Here are important details and tips for doing a guillotine choke.
- Arm around the neck: If you fall back and see the back of your opponent’s neck, they can easily escape the choke. Your arm has to go around your opponent’s neck with no open space given.
- Wrist under the chin:Your wrist needs to slide under your opponent’s chin before locking in your choke.
- The grip: Secure your grip before bending your opponent’s neck and sitting back.
- Bend the neck: Your opponent’s neck needs to bend down before you start squeezing your guillotine. When their head is up, the choke will not work.
- Sit don’t fall: After locking in your grip it is very important to sit and not fall back. Falling back makes the grip loose and gives you no angle on the choke.
- Angle out: Once you sit back, you need to slightly angle out away from your opponent’s head. Doing this will ensure that your squeeze is the tightest it can back.
- Crunch in: As you squeeze to lock in the pressure, do a side abdominal crunch on your choke side.


