Anaconda Choke – BJJ Submission

Front head chokes are easy, powerful, and easy to lock on. Especially if you prefer to train No-Gi.
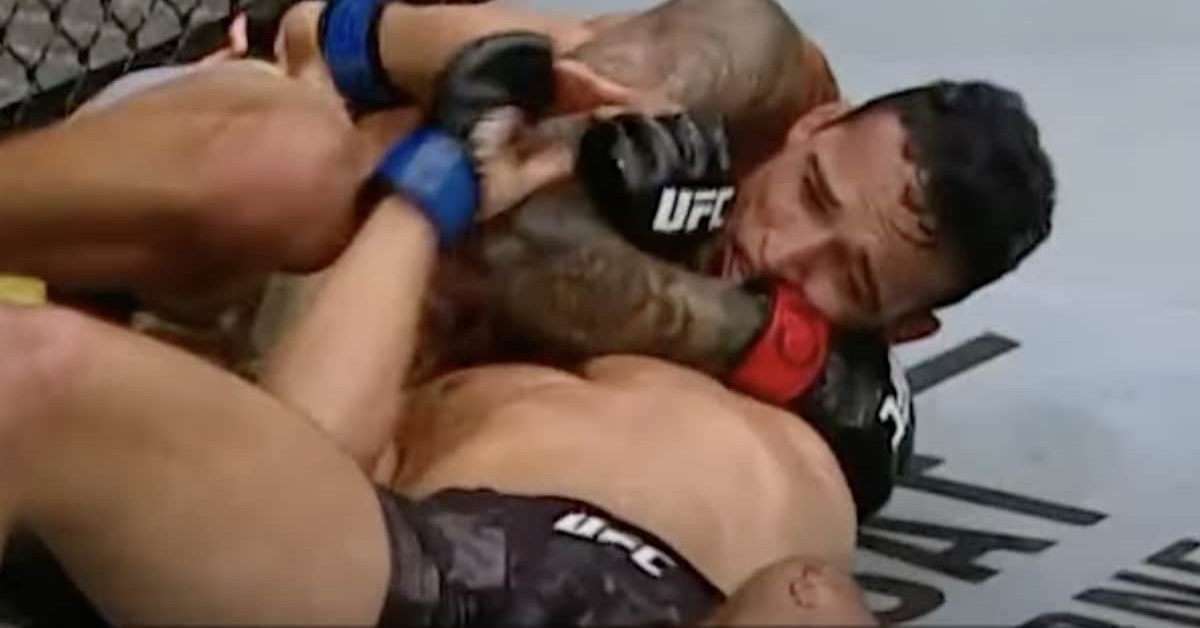
The anaconda choke is one of those chokes and there are various setups you can use to put it on. Here is our breakdown of the anaconda choke.
We’ll go through how the choke was developed and go over the mechanics of how it works. Then we’ll detail various setups into the anaconda and list important details and tips for locking it in.
When was the anaconda choke developed?
The anaconda choke was invented by UFC veteran Milton Vieira in the early 2000s. He was a training partner and coach of Antônio Rodrigo Nogueira who won two fights in Pride with the anaconda.
Nogueira credited Vieira with showing him the choke. It’s a position that Vieira spent years developing and came up with different ways to set it up.
Today with No-Gi Jiu Jitsu more popular than ever, the anaconda choke has become a must know submission. It’s a choke you must know to go along with the guillotine choke, darce, and Peruvian necktie.
The mechanics of the anaconda choke
The anaconda works in the same way as how an anaconda chokes its prey, which is how it got the name. It’s basically an arm triangle choke, but done in reverse.
Your arms cut off blood to one side of their neck, while you push your opponent’s arm into their neck. As you turn into your opponent and take an angle, you take a deep breath and squeeze with your body.
Basic Anaconda choke

A basic anaconda choke starts from either you snapping your opponent down or sprawling.
You end up on top of your opponent in head control and start to set up your choke.
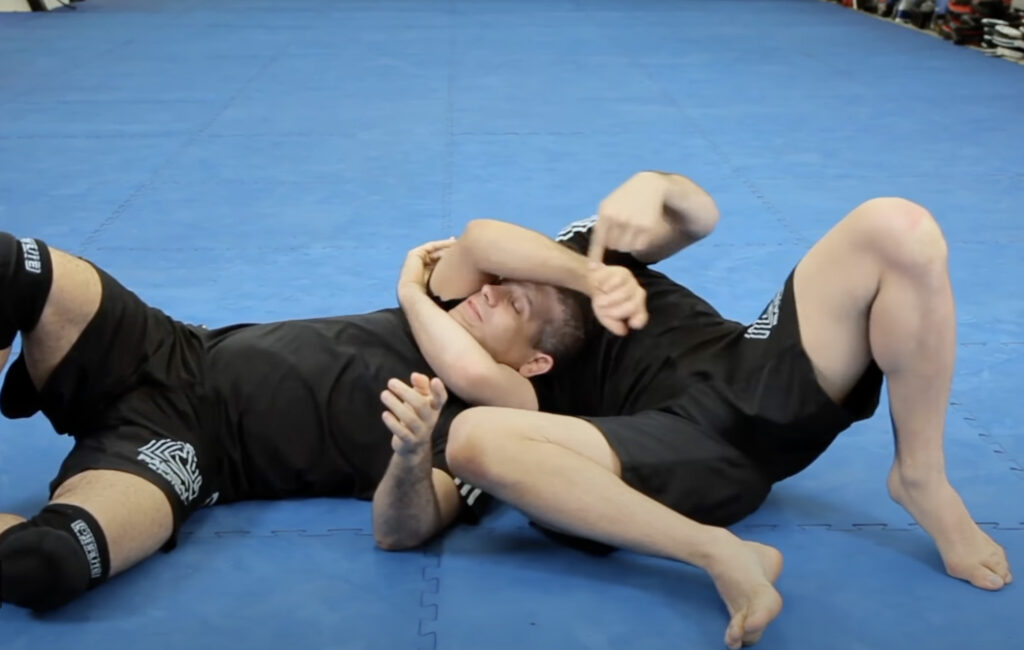
Start your setup by sliding your wrist under your opponent’s neck and pushing their arm inward. Pushing their arm in gives your arm the space to pass through,
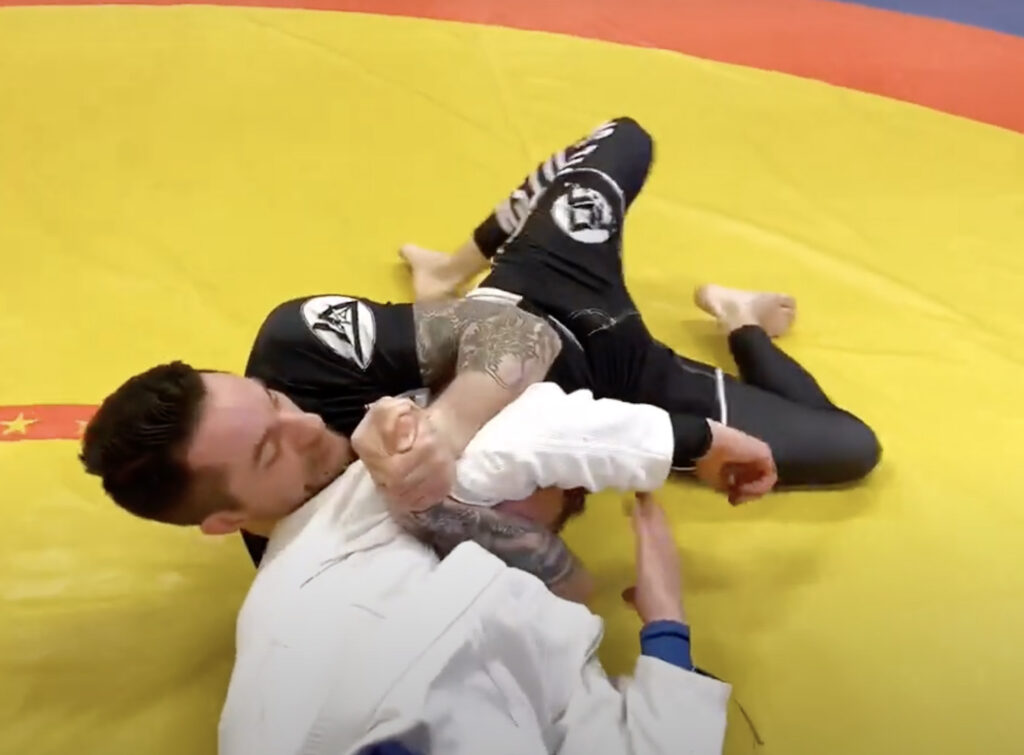
Next take your free arm and grab a hold of your bicep and place your top hand on your opponent’s back. Now with your grip locked in place, turn on your grip side, so your opponent can’t base out with their hand
This puts your opponent on their side and gives you the angle to finish the choke. Finish the choke by walking your hips into your opponent as you bend their neck down with your chest.
Anaconda finish variation #1
Sometimes when you walk your hips into your opponent, they may tough it out and start defending.
If your opponent isn’t tapping you can reach over with your top leg and hook your opponent’s leg. When you pull their leg in closer, this closes extra space and makes the choke tighter.
Anaconda finish variation #2
When you go for your anaconda roll, your opponent may defend by basing out with their foot. This defense stops you from being able to roll them.
If they do this, you do have a way of countering this defense. Use your grips to push your opponent back to make them take away their base leg and continue their roll.
Anaconda finish variation #3
Another way your opponent may defend the choke is by clasping their hands together. Once they do this, they open their elbows to create space.
If they do this, you can counter their defense by switching to a Gable grip. Then use your elbow to force your opponent’s arm down and re-grab your bicep grip.
From there, walk your hips back into your opponent and finish the choke.
Anaconda from the cradle position
When you’re passing your opponent’s guard, you can do this by using a cradle. Do the cradle by hooking around your opponent’s head and neck, clasping your hands together.
As you pass, you’re going to keep the cradle and wait for your opponent to move their arm over. Once they pass their arm over, you can go into locking in your anaconda choke.
Fall to your hip as you slide your arm under your opponent’s neck. Use your top arm to push your opponent’s arm down to make more space to lock in your anaconda grip.
Then just walk your hips into them and squeeze with your body to finish the submission.
Anaconda in the Gi
The anaconda choke in the Gi is basically the same movement with just one extra step involving the Gi.
Whenever your opponent goes for a single leg and you sprawl this leaves their arm exposed. Lock in your anaconda grip like normal, but with one step different.
instead of holding your opponent’s back, you’re going to grab their belt before you roll under them.
Leg staple to anaconda choke
Passing your opponent’s guard using a leg staple can lead to a tight anaconda choke. When you jump forward and staple your opponent’s leg, their head is already off the mat.
Quickly grab a chin strap on your opponent and front roll forward. Once you roll, turn into your opponent, push their arm down, and work in your anaconda grip.
With your grip locked in, walk your hips into your opponent, and squeeze to finish the move.
Anaconda choke without the roll
There is a variation of an anaconda choke, where you do not have to roll into the choke. It is more of a direct way to go right into the choke.
From head control, you work in your grip like a normal anaconda choke. Now instead of rolling, you’re going to bring your leg up, block your opponent’s hip, and turn them.
This puts your right in the same position without having to roll your opponent. Trap their leg to keep them from rolling and finish your choke.
Anaconda with a Gable grip
Instead of doing a hand on bicep grip, you can also use a Gable grip to finish your choke. When you get head control on your opponent, lock a Gable grip under your opponent’s body.
Now instead of switching to a hand on bicep grip, you’re going to keep the Gable grip. Using your elbow to push your opponent’s arm to make space for your roll.
Once you roll through, keep your Gable grip and walk your hips into your opponent. Then hook thor leg and finish the choke.
Anaconda Gable grip to bicep grip

The Gable grip finish isn’t always 100%, which is why the hand on bicep control is better. If the Gable grip finish isn’t working, there’s an easy step to switch to the normal anaconda choke finish.
Your opponent will bring their arm up to defend your Gable grip. When they do this, take your top leg and knock their arm down to re-grip into a bicep grip.
From there, finish the anaconda choke like normal.
Darce to anaconda choke
Remember that the darce and anaconda choke are both connected. When one doesn’t work, you can always go to another.
Sometimes, your opponent will defend your darce and it will leave them open for an anaconda choke.
Details and tips for doing the anaconda choke
Knowing the anaconda choke is important to complete your knowledge of front head chokes. It’s a fantastic choke, but has important details you need to remember. Here are important details and tips for doing the anaconda choke.
- Not a darce choke: Remember that the anaconda has opposite grips to the darce choke. Your arms connect behind your opponent’s arms and not next to their head.
- Chest over head: Keep your chest over your opponent’s head when setting up your choke. This keeps them in place and makes it hard for them to move.
- Wrist under neck: Slide your wrist under your opponent’s chin and not your bicep. There’s too much space to give a tight choke when you try the move using your bicep.
- Push their arm: To give your arm space to pass your opponent’s arm, push their arm into their body.
- Grab your bicep: Lock your choke hand onto the bicep of your top hand. If you don’t have enough space, your forearm will suffice, but you’ll need to adjust to finish the submission.
- Bend opponent’s neck: Like with all front head chokes to bend your opponent’s neck down to put on the pressure.
- Turn inward: Once you lock on your grip, turn on the shoulder of your choke arm. Just like an anaconda would constrict its next meal.
- Hook their leg/body: When you complete your roll, hook around your opponent’s back or their leg. This keeps them in place while you squeeze your choke.


